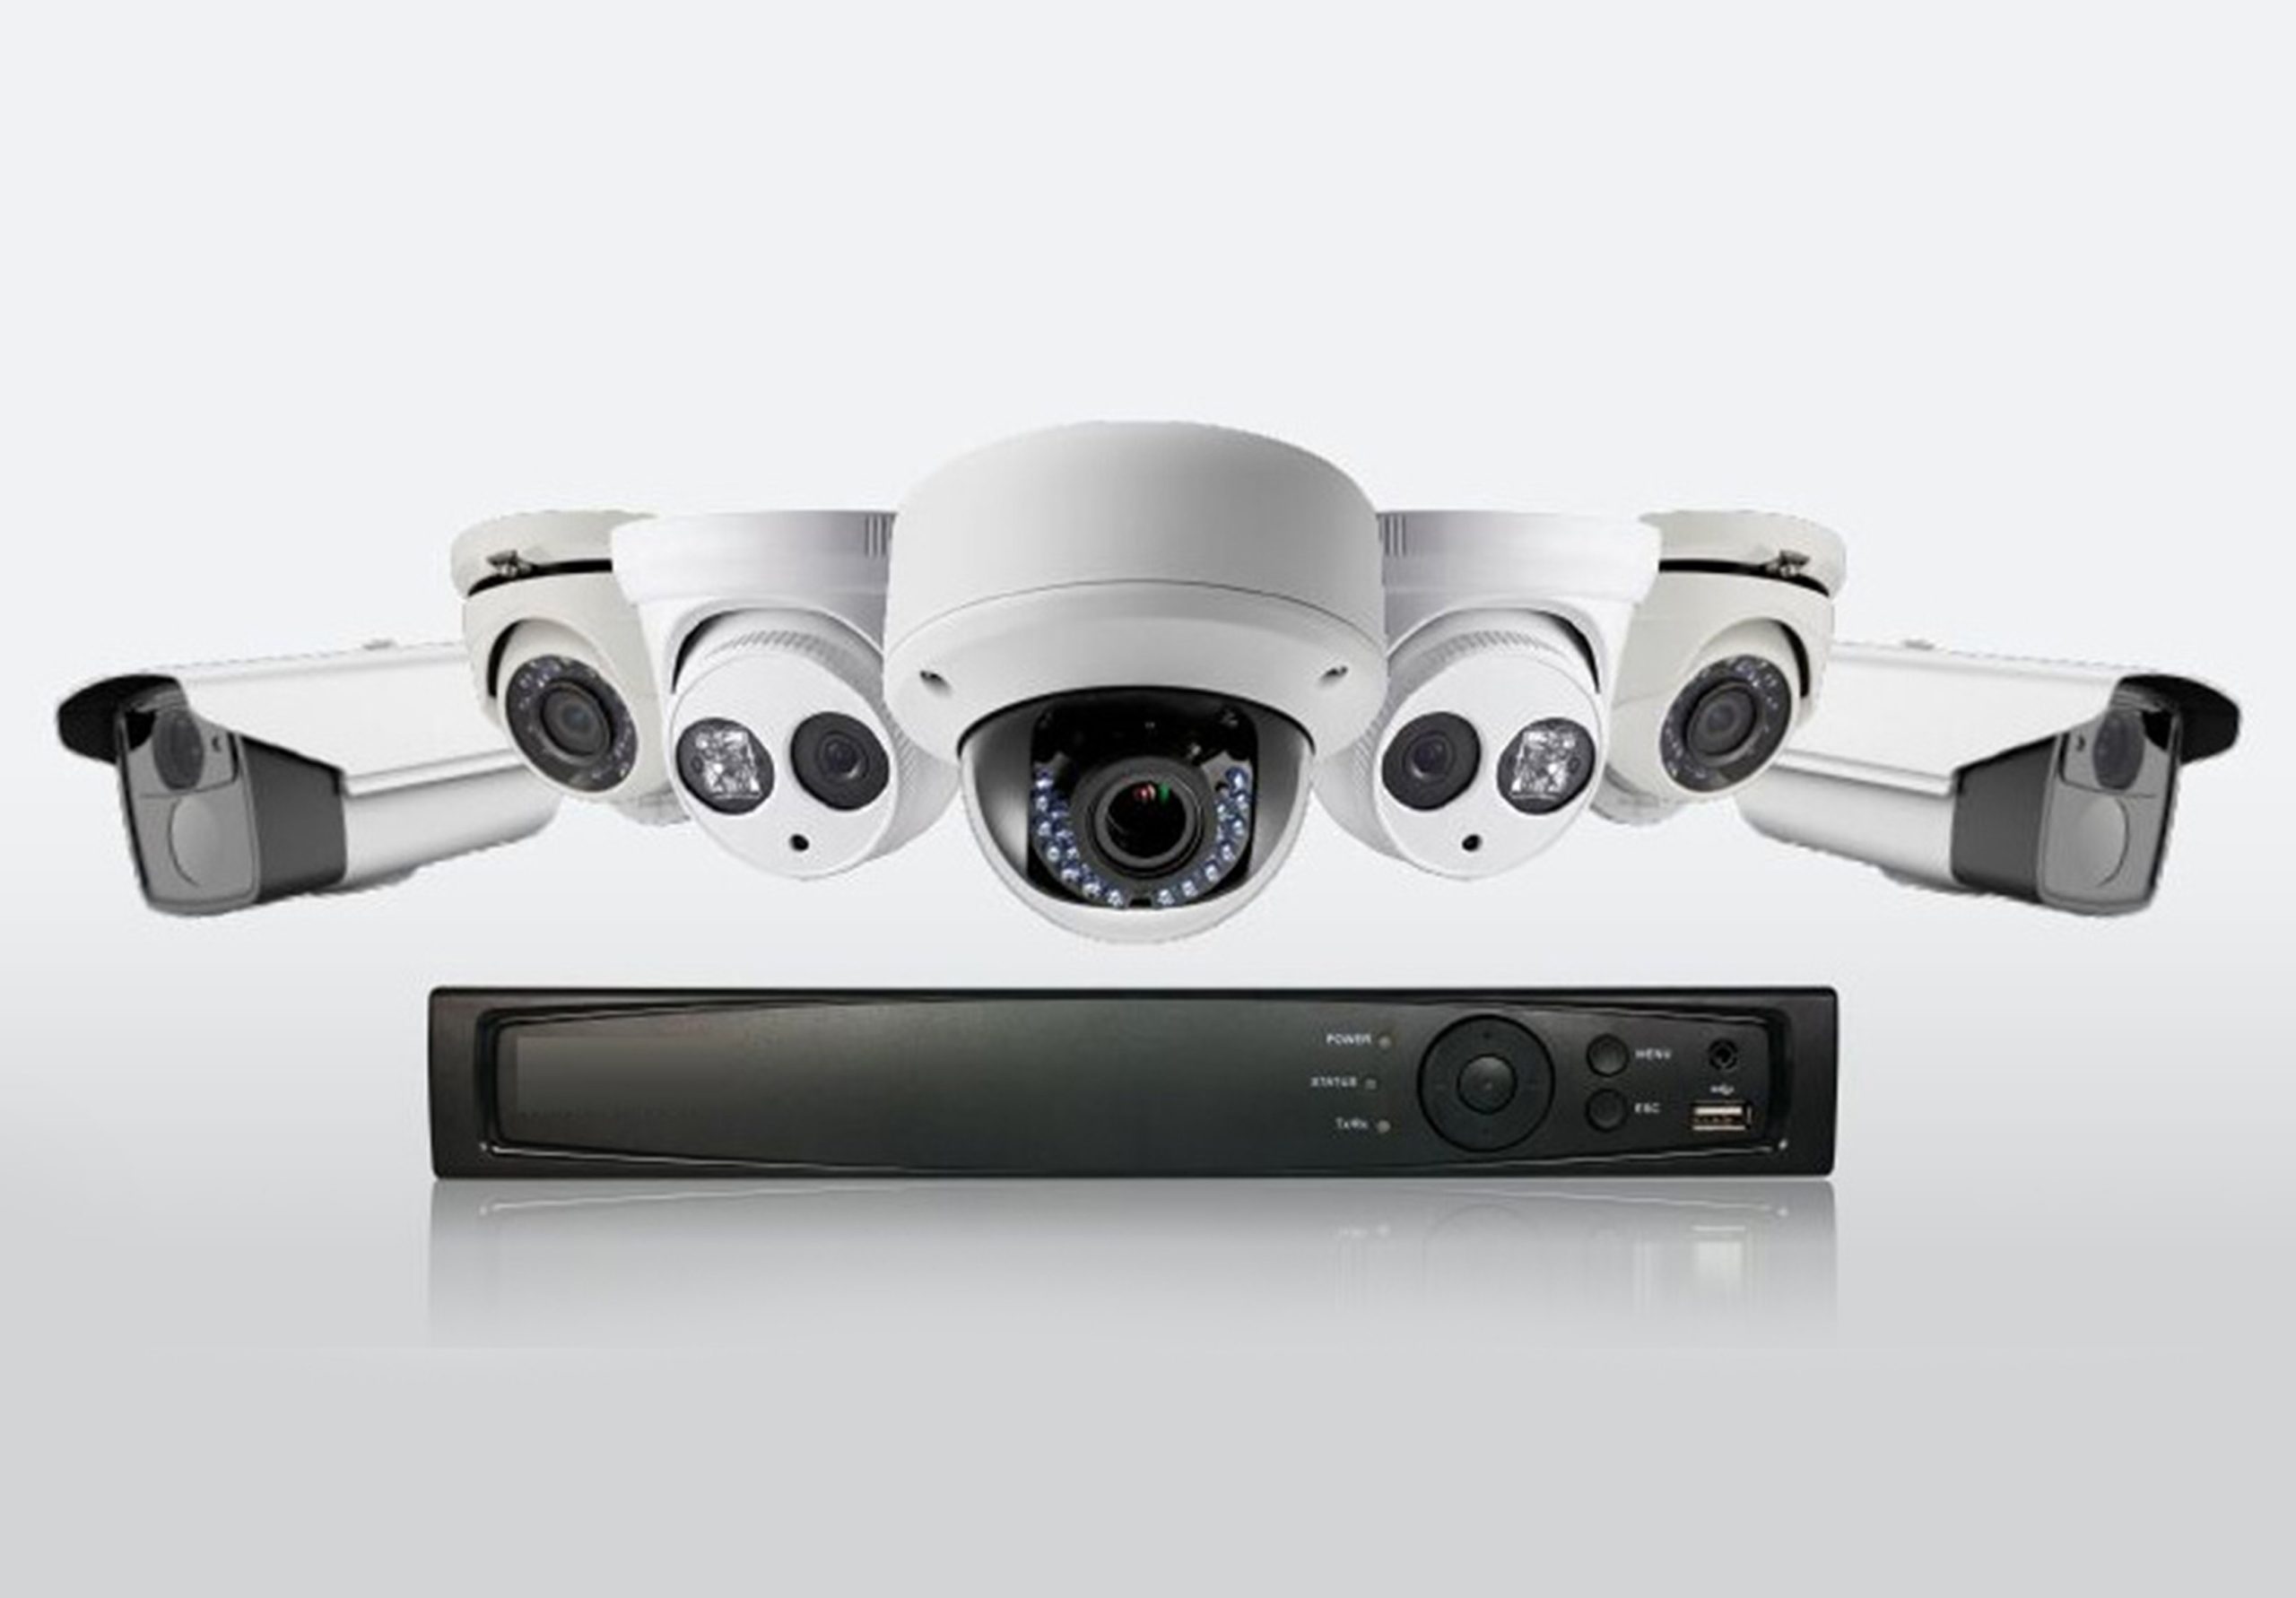
Installing a CCTV camera system requires proper planning, selection of the right equipment, and careful installation. Here’s a step-by-step guide to help beginners install a CCTV system efficiently.
1. Planning the CCTV Installation
Before you start installing, proper planning is essential to ensure maximum coverage and security.
a) Identify Key Areas to Cover
- Entrances and exits
- Driveways and parking areas
- Backyards or garden areas
- Living rooms or hallways inside homes
- Cash counters and storage areas for businesses
b) Choose the Right Type of CCTV Camera
Different cameras serve different purposes:
- Dome Cameras – Good for indoor monitoring, discreet design.
- Bullet Cameras – Suitable for outdoor use, long-range coverage.
- PTZ Cameras (Pan-Tilt-Zoom) – Allow remote movement and zoom control.
- IP Cameras – Offer high-quality video and remote access over the internet.
- Wireless Cameras – No cables required, but depend on WiFi signal strength.
c) Select the Right Storage Option
- DVR (Digital Video Recorder) – Used for analog cameras.
- NVR (Network Video Recorder) – Used for IP cameras.
- Cloud Storage – Can be used as backup storage in case of theft or damage.
2. Choosing the Right Equipment
Apart from cameras, you will need:
- Cables (Coaxial for analog, Ethernet for IP cameras)
- Power Supply Adapter or PoE Switch for power over Ethernet cameras
- Storage Hard Drive (Minimum 1TB recommended)
- Monitor or TV for real-time viewing
- Router & Internet Connection (For remote access)
3. Step-by-Step Installation Guide
a) Mounting the Cameras
- Install cameras at a height of 8-10 feet for better coverage and protection.
- Avoid direct sunlight or light sources to prevent glare.
- Use wall anchors and screws to fix the camera securely.
b) Laying Cables & Connections
- For wired cameras, run cables neatly along walls and ceilings.
- Use conduit pipes or cable clips to secure the wires.
- Connect coaxial cable (for analog cameras) or Ethernet cable (for IP cameras).
c) Connecting the Cameras to the DVR/NVR
- Plug camera cables into the DVR/NVR input ports.
- Connect the DVR/NVR to the monitor via HDMI/VGA cable.
- Power up the DVR/NVR and cameras using the adapter.
d) Configuring the System
- Set up the date and time for accurate recording.
- Adjust motion detection settings if available.
- Enable remote access by connecting the DVR/NVR to the internet.
- Install a mobile app (like Hik-Connect, XMEye, or iVMS) to monitor live footage remotely.
CCTV Camera AMC: Useful or not, lets find-out
4. Testing & Maintenance
a) Testing
- Check camera angles and adjust them if necessary.
- Ensure night vision is working properly.
- Verify if the recording is saved correctly on the hard drive.
b) Regular Maintenance
- Clean camera lenses every 2-3 months.
- Check cables for damage or loose connections.
- Update firmware/software of DVR/NVR for security fixes.
5. Common Installation Mistakes to Avoid
✅ Wrong Camera Placement – Avoid placing cameras too high or too low.
✅ Exposed Wires – Hide or secure wires to prevent tampering.
✅ Poor Lighting Conditions – Test cameras under different lighting conditions.
✅ Ignoring Storage Capacity – Use a hard drive with enough space for continuous recording.
✅ Skipping Router Configuration – Properly configure network settings for remote access.
Final Words
Installing CCTV cameras is easy if you follow the right steps. With proper planning, the right equipment, and secure installation, you can ensure 24/7 surveillance for your home or business. If you are unsure about wiring or network setup, consider getting professional help.